My Blog – Inspiration and Insights into the World of Photography #
Welcome to my blog, where I share practical tips and inspiration for anyone
passionate about photography! Here’s what you’ll find in my posts:
Photography Tips and Techniques: Clear instructions and creative ideas to
help you improve your skills and capture the best possible shots, no matter
the circumstances.
Guides and Solutions: Practical advice, such as how to hang your art
stylishly without nails or how to make the most of lighting in different
scenarios.
Photo Service Reviews: Honest opinions and experiences with various
printing and photo editing services—what truly works and offers the best
value for your money.
Whether you’re a beginner or a seasoned photographer, my goal is to provide
useful insights and fresh perspectives on the many facets of photography. Join
me on this journey of blending art and technique!
The scene-referred pipeline isolates the intense, low-angle sunlight on the reeds while allowing the background forest to fall naturally into deep shadow. By preserving the delicate blue skylight reflection on the water, the workflow maintains a realistic color temperature split that grounds the image in a physical time and place. (Click on the image to view it in larger size.)
After returning that “Frankentech” Spyder from the previous post, coming back to my desk empty-handed was a real wake-up call. It forced me to confront a harsh truth: it wasn’t just a case of outdated hardware. Even though I had been using Darktable for years, I was still stuck in the past, relying blindly on the legacy base curve. My entire approach to raw development was completely obsolete.
For years, proprietary software such as Adobe Lightroom has conditioned us to edit within a “display-referred” paradigm. This legacy system forces raw sensor data into the cramped confines of a monitor’s color space almost immediately. To make flat raw files look exciting in these older pipelines, I routinely screamed with the sliders. I cranked global contrast, pushed saturation to the brink, and inadvertently turned my organic landscapes into hyper-real, radioactive digital candy.
May evening peace – where granite rocks meet mirror-calm water and the soft light of a spring evening. The image was edited using a new scene-referred workflow in the Darktable software. (Click on the image to view it in larger size.
It all started with curiosity and twelve large aluminum prints. I was preparing a gallery exhibition for France and decided to have my photos printed on elegant Alu-Dibond aluminum panels through the Saal Digital printing service.
Because printing on aluminum is a major investment both artistically and financially, I wanted to play it safe. I downloaded the service’s official ICC printer profiles for soft-proofing. The purpose of this process is to simulate on-screen how the final physical print will look. For this preview to be reliable, the monitor must display colors completely neutrally. This is where calibrators, or colorimeters, come into play. A colorimeter is a small measurement device placed on the screen’s surface that measures the wavelengths of light emitted by the display and compares them to international color standards. The calibrator creates a correction profile that forces the monitor to display colors exactly as they are in the file. Without calibration, you risk a photo that looks gorgeous on screen turning out too dark, green, or magenta when printed. So, I headed to Rajala Pro Shop, a well-known local photography specialist retailer, to buy a new calibrator.
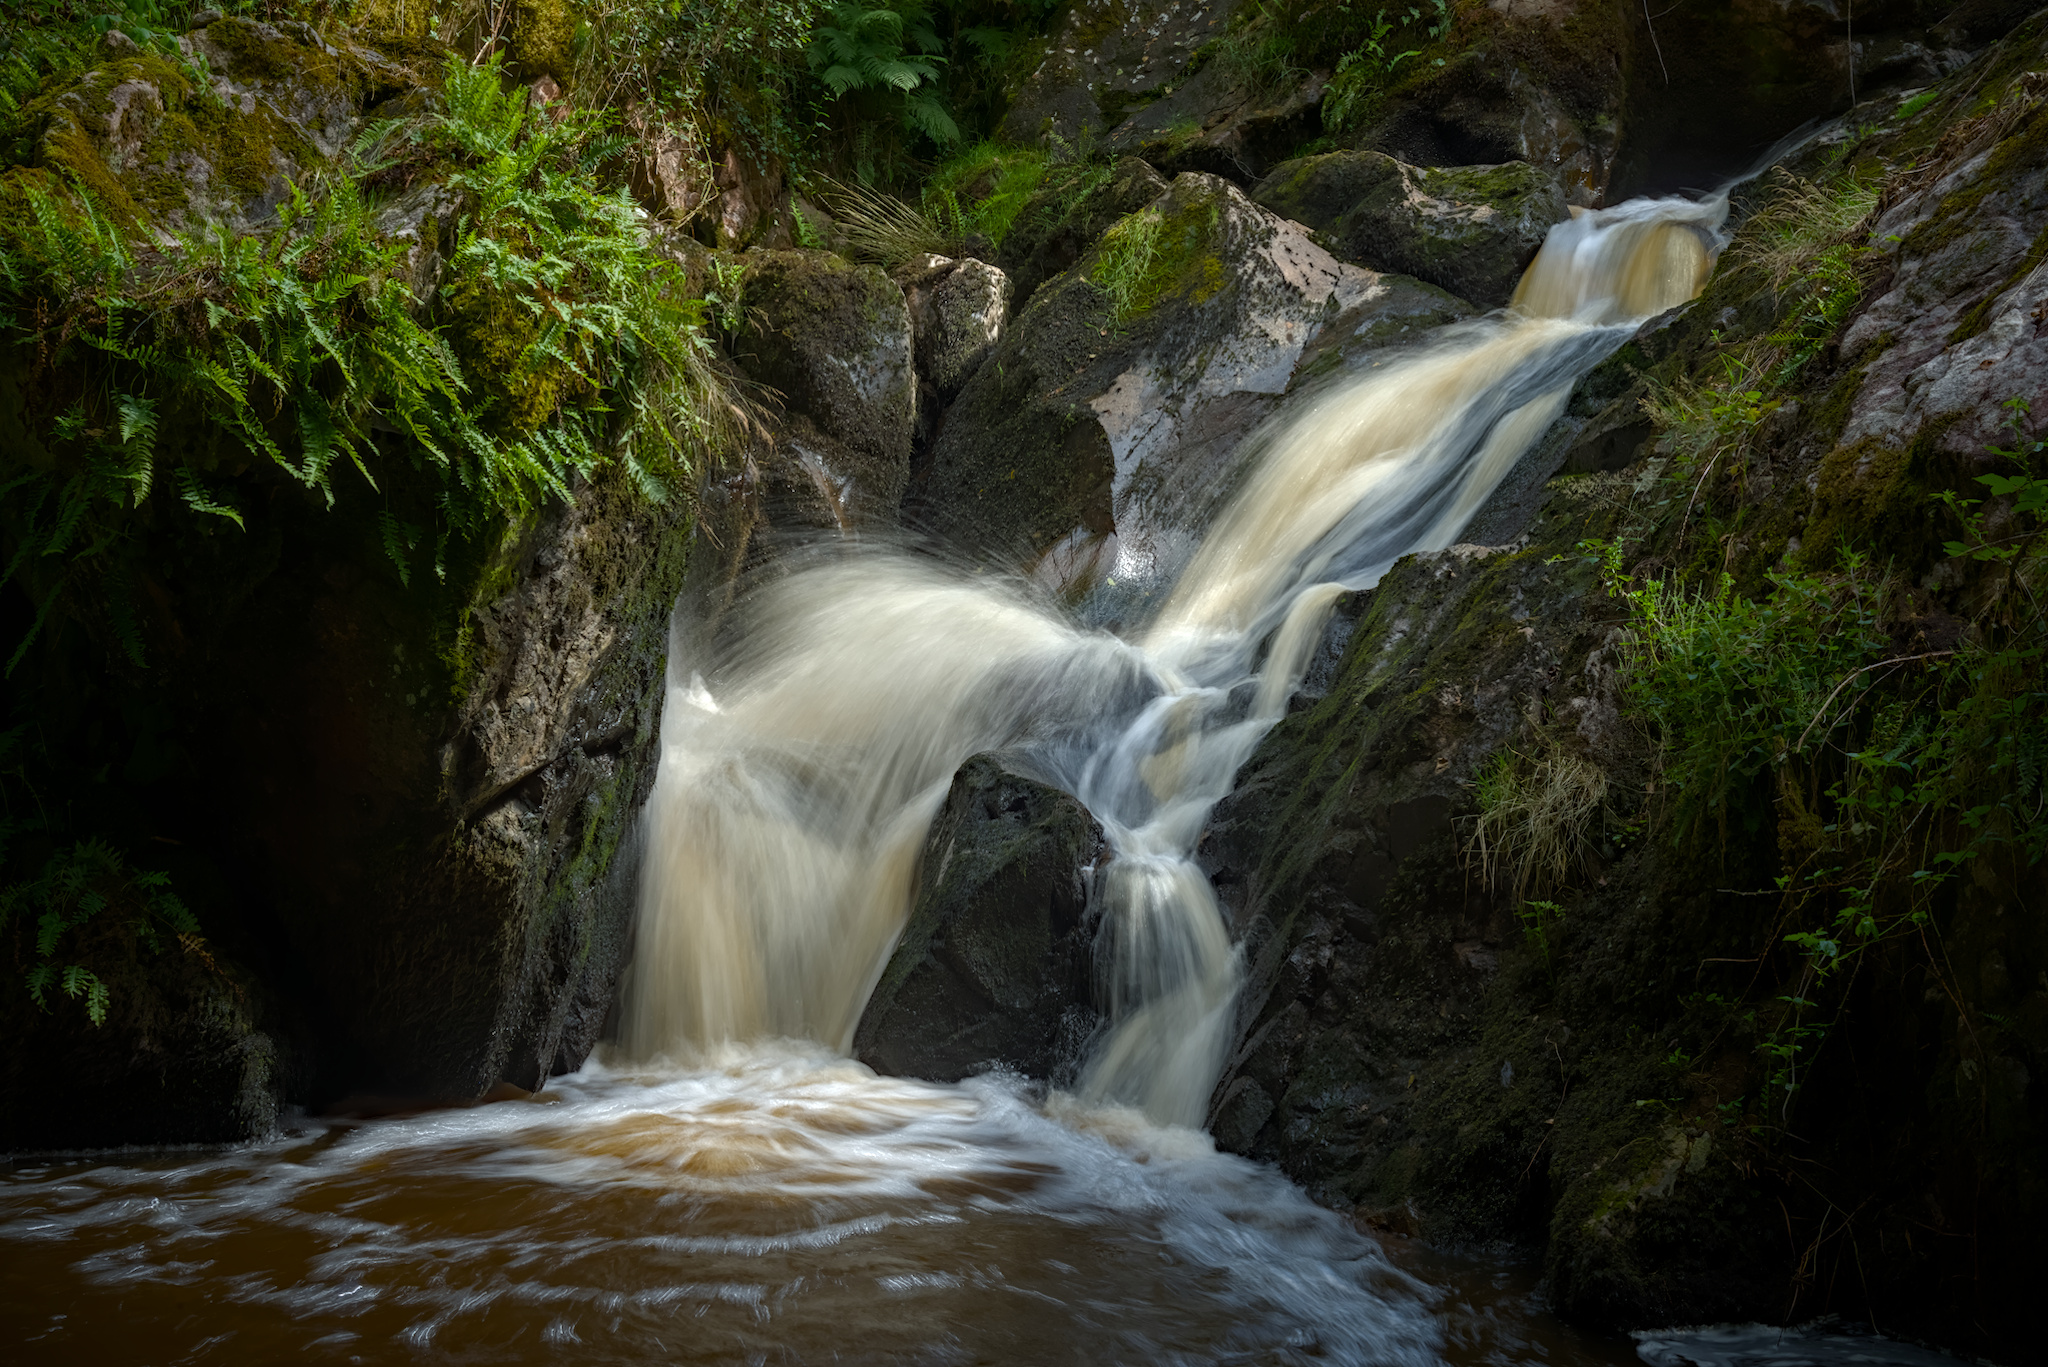
A photograph of a scenic waterfall in La Creuse, France.
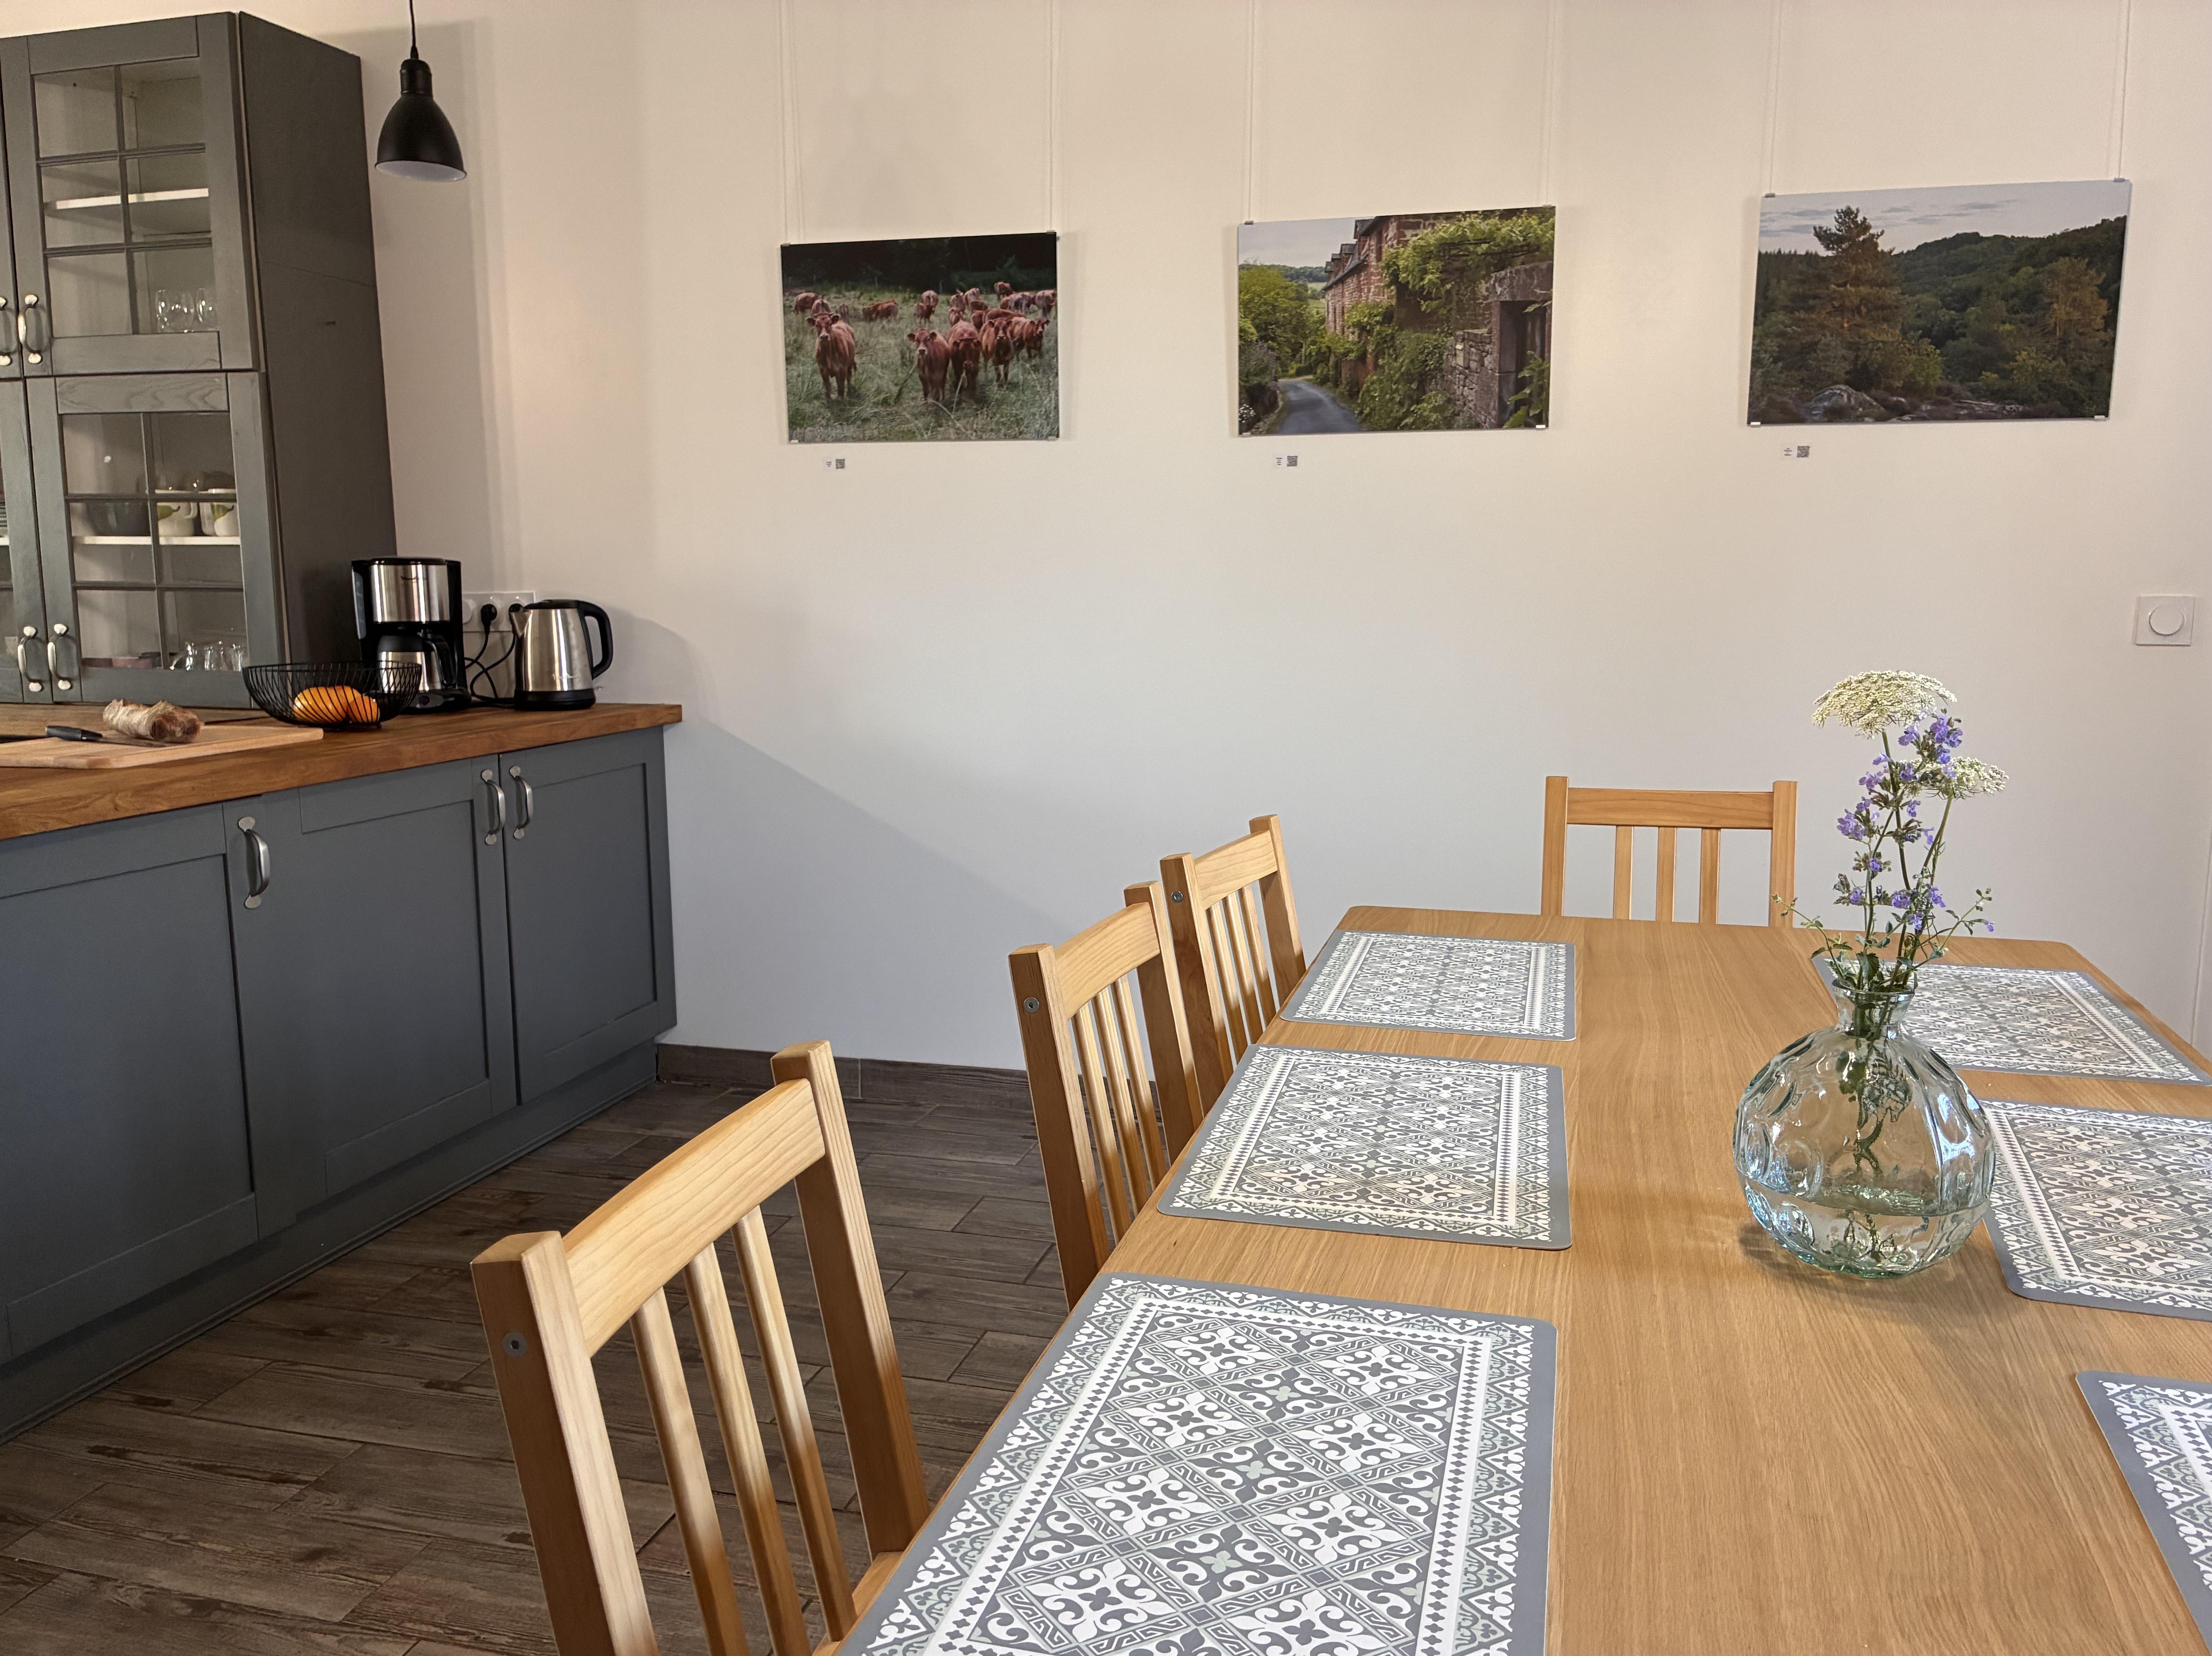
Have you ever wondered how you can hang your wall art discreetly, yet elegantly? Hanging pictures using a gallery rail and nylon cords is the perfect solution. This guide will show you how to achieve a professional look easily and without any unnecessary hassle.
Hanging Art with a Nylon Cord – The Easiest Path to a Professional Look #
A gallery wall is a wonderful way to showcase art and bring a striking new look to your home. Hanging art with a nylon cord and a picture rail is both a stylish and highly practical choice. With the supplies introduced below, you can create a beautiful gallery wall and effortlessly adjust the placement of your pictures without drilling new holes. You only need to drill holes once to mount the rails near the ceiling—meaning if you ever move, there will be far fewer holes to patch up.
Picfair is a photography platform, whose main purpose is to offer
photographers a place to sell their photographs either as digital
downloads or printed products. They use the term license when you buy a
photo through their platform, which makes sense if you are a
professional buyer but less so if you are a private person in search of
a desktop wallpaper image for example.
In 2020, thanks to Getty taking over licensing on 500px, I was looking
for an alternative platform through which I could make some pocket money
selling my photographs. Some Google searches later I bumped into
Picfair, which sounded ideal for my needs.