- Photography Portfolio/
- Photography Blog/
- How to Hang Wall Art Without Nails: A Stylish and Flexible Solution/
How to Hang Wall Art Without Nails: A Stylish and Flexible Solution
Table of Contents

Hang Wall Art Without Nails: The Perfect Solution #
Would you like to add style and personality to your walls without the hassle of drilling holes? A gallery wall is a fantastic way to showcase your art and make your space truly unique.
Hanging wall art with picture rails and cables offers a sleek, practical solution. With the right tools, you can create a stunning gallery wall while avoiding the hassle of drilling multiple holes. The only drilling you’ll need is to install the rails near the ceiling—leaving your walls easier to patch if you move.
A gallery wall also gives you the freedom to rearrange your art to suit your mood, style, or the seasons. Whether you’re showcasing a bold centerpiece or curating a collection of smaller pieces, this system makes it easy to adapt and refresh your display whenever you like.
Art transforms your home into more than just a living space—it tells your story. Create a gallery wall that reflects your personality and brings your space to life.
Acessories You’ll Need for Your Gallery Wall #
To get started, you’ll need Nielsen soft-rails, which is the brand even professional galleries use to hang their pieces in a stylish and flexible manner. I’ve included a link to Amazon, but the rails should be available through almost any hardware store or super market around the world.
- Nielsen Gallery Rail kit with nylon ropes and hooks to hang your wall art in a stylish and professional manner.
How to Create Your Own Gallery Wall #
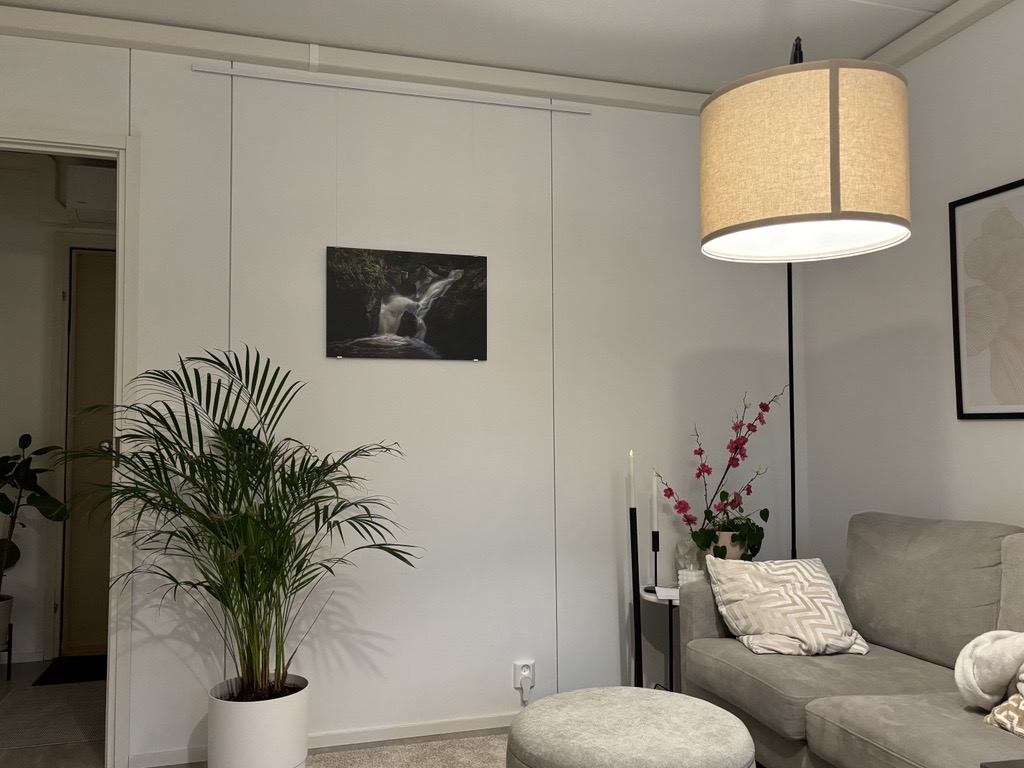
Here’s an example of a gallery wall created using Nielsen picture rails and cables:

Step 1: Installing the Picture Rail #
- Plan Your Layout: Measure your wall and mark where the rail will go. Ensure it’s straight using a level or laser.
- Mount the Rail: Attach the rail using the mounting set. If your wall is wider than 1.5 meters, use rail connectors to link multiple rails.
- Check Stability: Ensure the rail is securely fixed before proceeding.
Step 2: Adding Cables and Hooks #
- Insert the Cables: Slide the hanging cables into the rail and position them where you’d like your art to hang.
- Attach the Hooks: Place the hooks on the cables and adjust their height to suit your layout.
Step 3: Hanging Your Wall Art #
Once the cables and hooks are in place, hang your artwork. Aluminum prints are an excellent choice—they’re lightweight, durable, and have a sleek, modern look. For one aluminum print, use two cables and four hooks.
Limited Edition Aluminum Prints for Your Home or as a Gift #
My web store offers a selection of numbered aluminum prints, each delivered with a certificate of authenticity. If you’re drawn to an image from my portfolio that isn’t currently listed, I can create a custom aluminum print just for you. This way, you can bring a piece into your gallery that truly resonates with you—something unique and exclusive.
How My Web Store Works #
- High-Quality Prints: The collection features carefully selected photographs, printed on aluminum for durability and a contemporary aesthetic.
- Numbered Editions: Each print is part of a limited series and comes with a certificate of authenticity.
- Expanding Selection: My store was born from customer requests, and the collection continues to grow based on your feedback.
- Secure and Easy Shopping: Powered by Holvi, my web store ensures a smooth and secure purchasing experience.
Personalize Your Art with Custom Orders #
If a piece from my portfolio speaks to you but isn’t in the store, I can produce a custom aluminum print to your specifications. Let’s create something special for your gallery that reflects your taste and elevates your collection.
Feel free to reach out, and let’s design the perfect piece or set for your space.
In any case, I warmly encourage you to:
Inspiration is always a good thing—art has the power to offer fresh perspectives and enrich our lives!